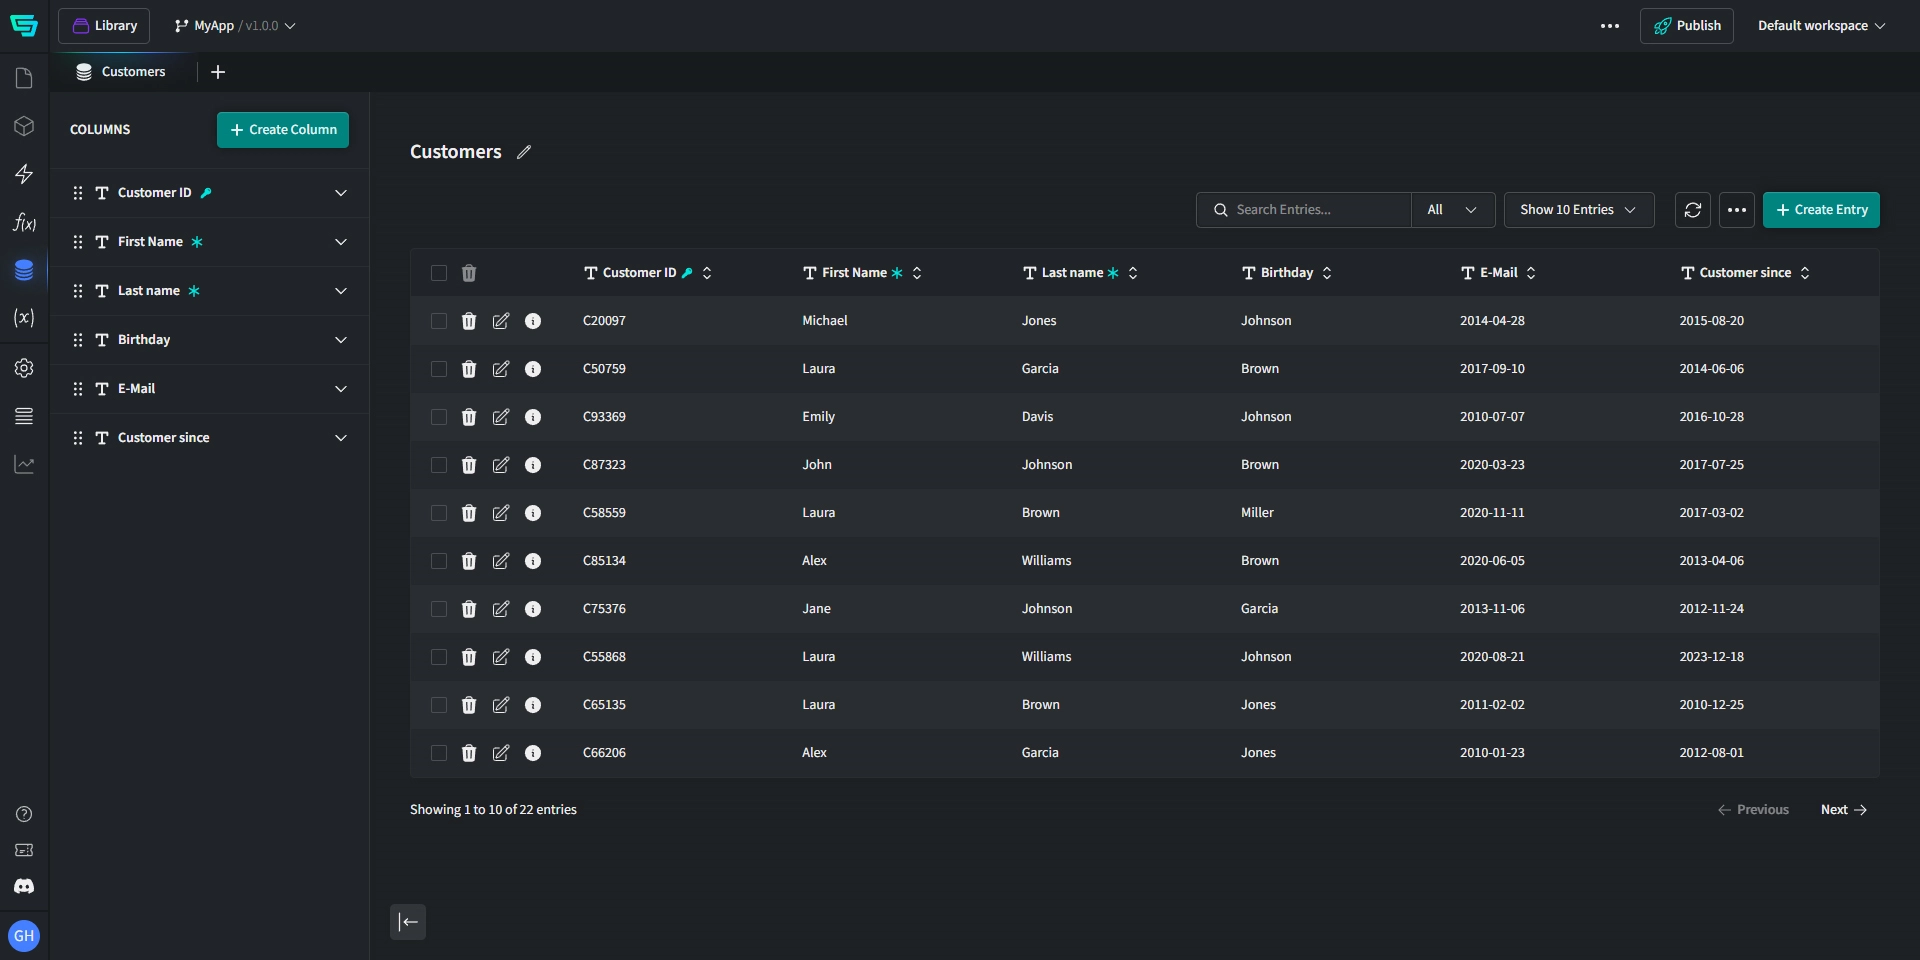
Data Collections
Data Collections are basically the same as database tables. You can create fields and manage your Data Collection entries. Data Collections can be accessed directly from your Flow's Functions and Actions.
Data Collections are dynamic Components. If your App is live, not only can you access the live data from your App, but any changes made within your Data Collection will also impact your published Apps. Changes to the schema of a live Data Collection can potentially break your App!
Columns
Columns in a Data Collection represent the different types of data that you want to store. Each column has a specific data type, such as Text, Number, Date, etc.
Each column in a Data Collection can also have additional properties, like being marked as required, unique (primary), or being encrypted for added security.
Add a new column
To add a new column to your Data Collection, follow these steps:
- Click on
+ Create Column, located at the top of your left side bar. - Enter the name of your new column.
- Select the data type for your new column from the dropdown menu. This can be Text, Number, Date, Boolean, etc.
- If the new column is a required field, toggle
Required. This ensures that every entry in your Data Collection includes data for this column. - If necessary, toggle
Uniqueto ensure that all entries in the column are unique. - If you want to encrypt the column's data, toggle
Encrypt. - Click
Createto add the new column to your Data Collection.

Data Types
Here are the supported data types you can use for a Data Collection column:
- Boolean: For storing TRUE or FALSE values. Ideal for yes/no questions.
- Date: For storing dates.
- Date & Time: For storing dates and times together.
- Domain: For storing domain names
- Email: For storing email addresses.
- Float: For storing floating-point numbers.
- IP Address: For storing IP addresses (IPv4).
- List: For storing an ordered collection of values or maps. Similar to arrays.
- Map: For storing key-value pairs. Useful for structured data. Similar to objects.
- Number: For storing numeric data. Ideal for quantities, prices, etc.
- Phone Number: For storing phone numbers in the international format.
- Text: For storing alphanumeric characters. Ideal for names, addresses, descriptions, etc.
- Time: For storing time values.
- URL: For storing website URLs.
Encryption
Sensitive data can be encrypted before being stored in your Data Collection or Variables. This helps you build Apps more securely and protect sensitive user data around the globe.
Specifically, if you are bound to a data security framework like GDPR and want to use international fast data access via our read replicas, encryption can be useful to protect your customers' personal data.
We secure your selected data with high-level AES-CBC encryption.
Change order
You can change the order of columns with drag & drop either from the left sidebar or within the list view.
Entries
Entries in a Data Collection are similar to rows in a database table. Each entry represents a single record of data, with values for each column in the Data Collection.
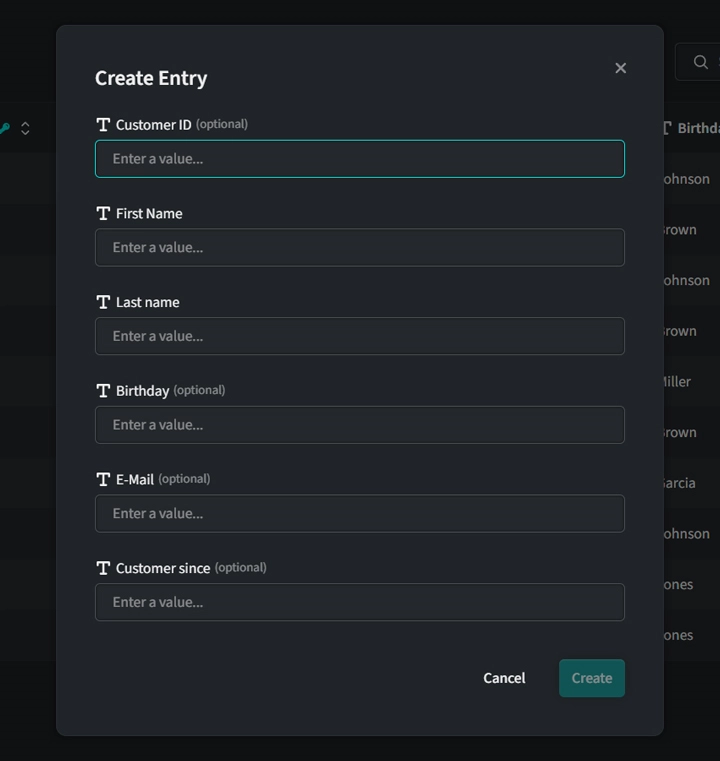
Add a new entry
To add a new entry to your Data Collection, follow these steps:
- Click on
+ Create Entry, located at the top right of your Data Collection. - Fill in the values for each column in the new entry. Make sure to provide data for all required columns.
- Click
Createto add the new entry to your Data Collection.
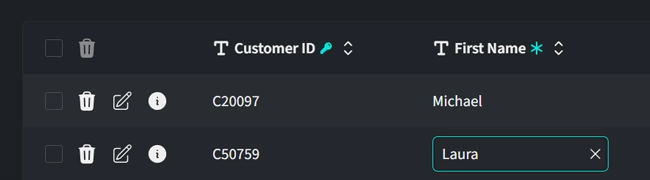
Edit an entry
To edit an existing entry in your Data Collection, follow these steps:
- Click on
✎at the entry you want to edit. - Update the values in the columns as needed.
- Click
Saveto save your changes.
To quickly change specific values of your entries, you can simple double click a value to edit it.
Delete an entry
To delete an entry from your Data Collection, follow these steps:
- Click on
🗑at the entry you want to delete. - Click
Deleteto permanently remove the entry from your Data Collection.
Please note that this action is irreversible!
You can also delete all shown entries at once by clicking the context menu • • • on the top right of your list view, then select Empty and confirm the deletion.